← All posts

The Ultimate Flaky and Tender Pie and Tart Crust

Jump to Recipe ↓
The Ultimate Flaky and Tender Pie and Tart Crust on notjustspice.com

Delicate and buttery with a dainty lift, the ultimate flaky and tender pie and tart crust is in a league of its own. Dedicated to saving pies and tarts worldwide, this hero enhances your pie and tart experience like no other crust.

I know how choosy and how particular one can be when baking a pie. I also know it can be intimidating, like it was for me. But once I mastered (as much as I could) the classic pastry crust, I knew that could master the ultimate flaky and tender pie and tart crust. It can be tricky but when you get it right, it’s sublime. Follow the instructions, and you’ll see the results for yourself! After all they’re outlined by the baker who wrote the The Pie and Pastry Bible.
The Ultimate Flaky and Tender Pie and Tart Crust on notjustspice.com

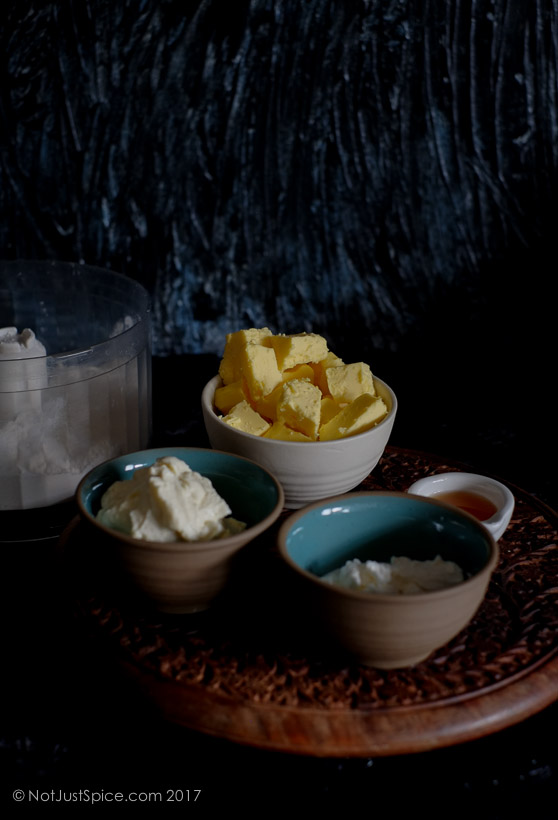
Rose Levy Rosenbaum has dug deep and come up with all sorts of tips to enhance a humble pie crust: the addition of vinegar and the usage of pastry flour lessens gluten development to a large degree (thanks to the acidity in the vinegar), relaxes the dough and makes the crust more delicate; the addition of aluminium-free baking powder aerates the crust giving it a dainty lift; and the addition of cream cheese and cream makes it gracefully smooth, more flavourful because of the milk solids (their fat coats the flour). It also browns more than the other pie crusts.
The Ultimate Flaky and Tender Pie and Tart Crust on notjustspice.com

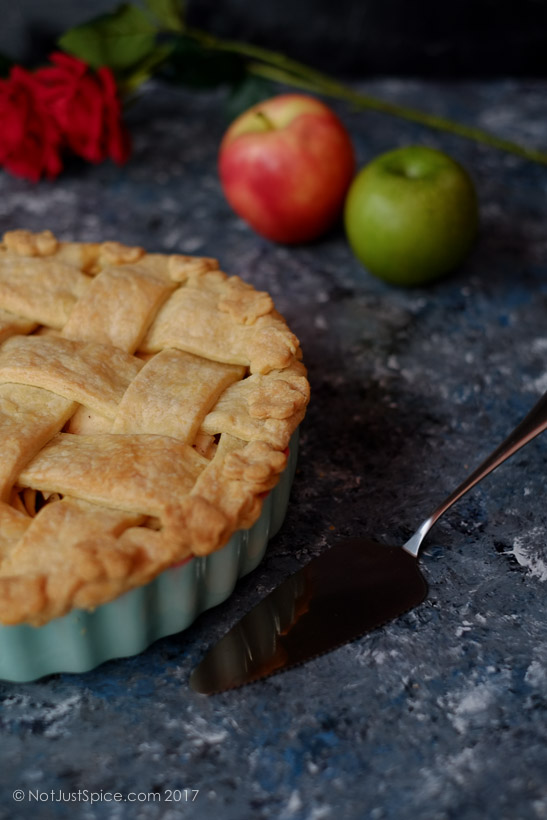
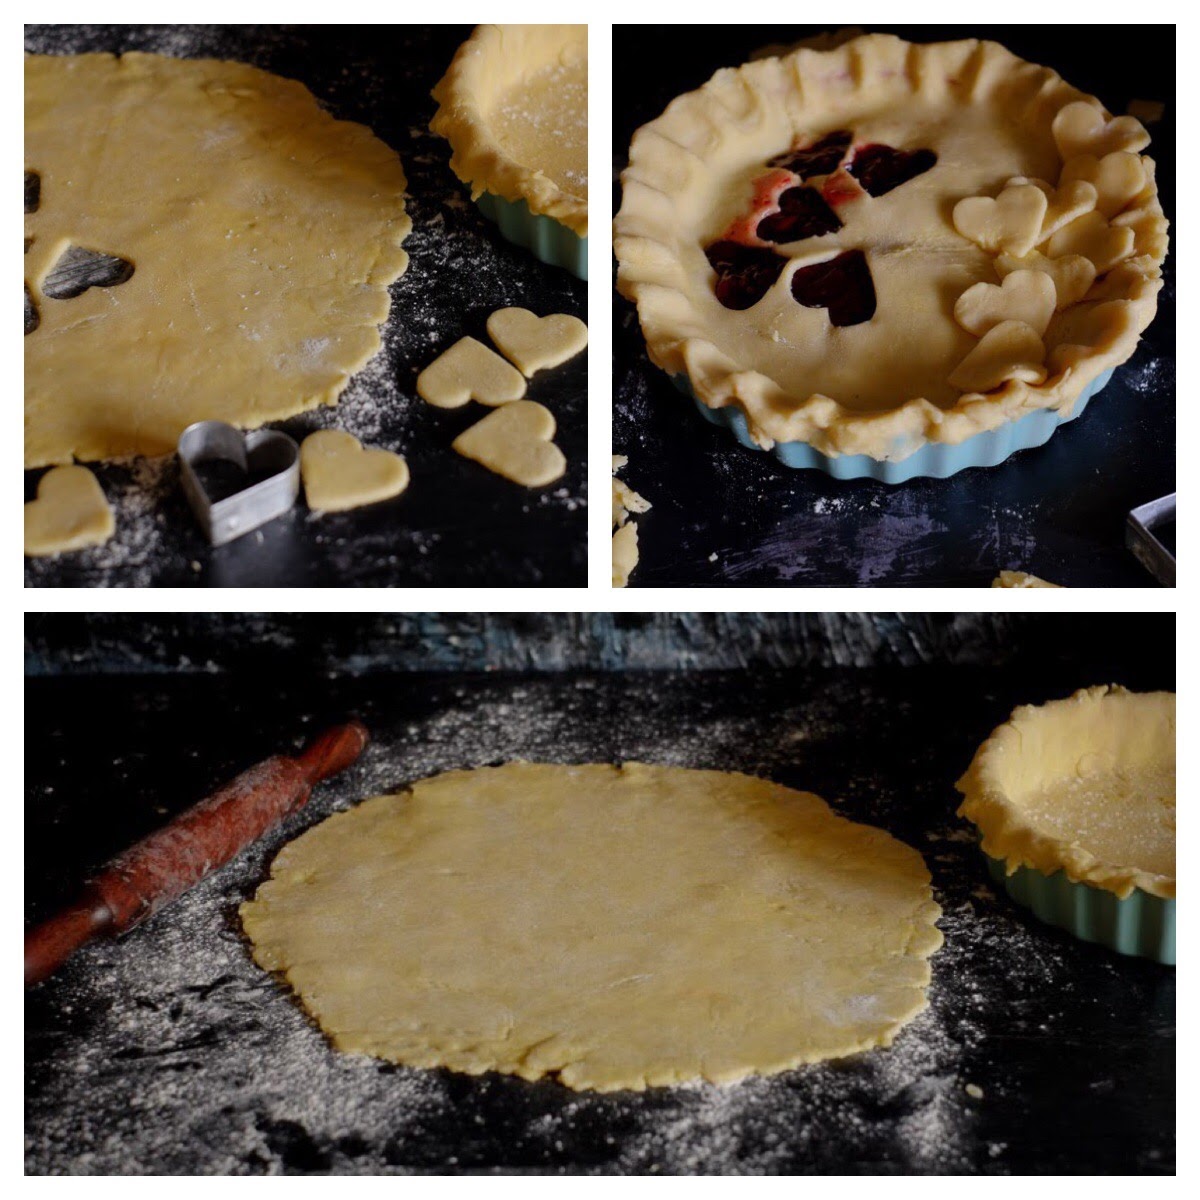
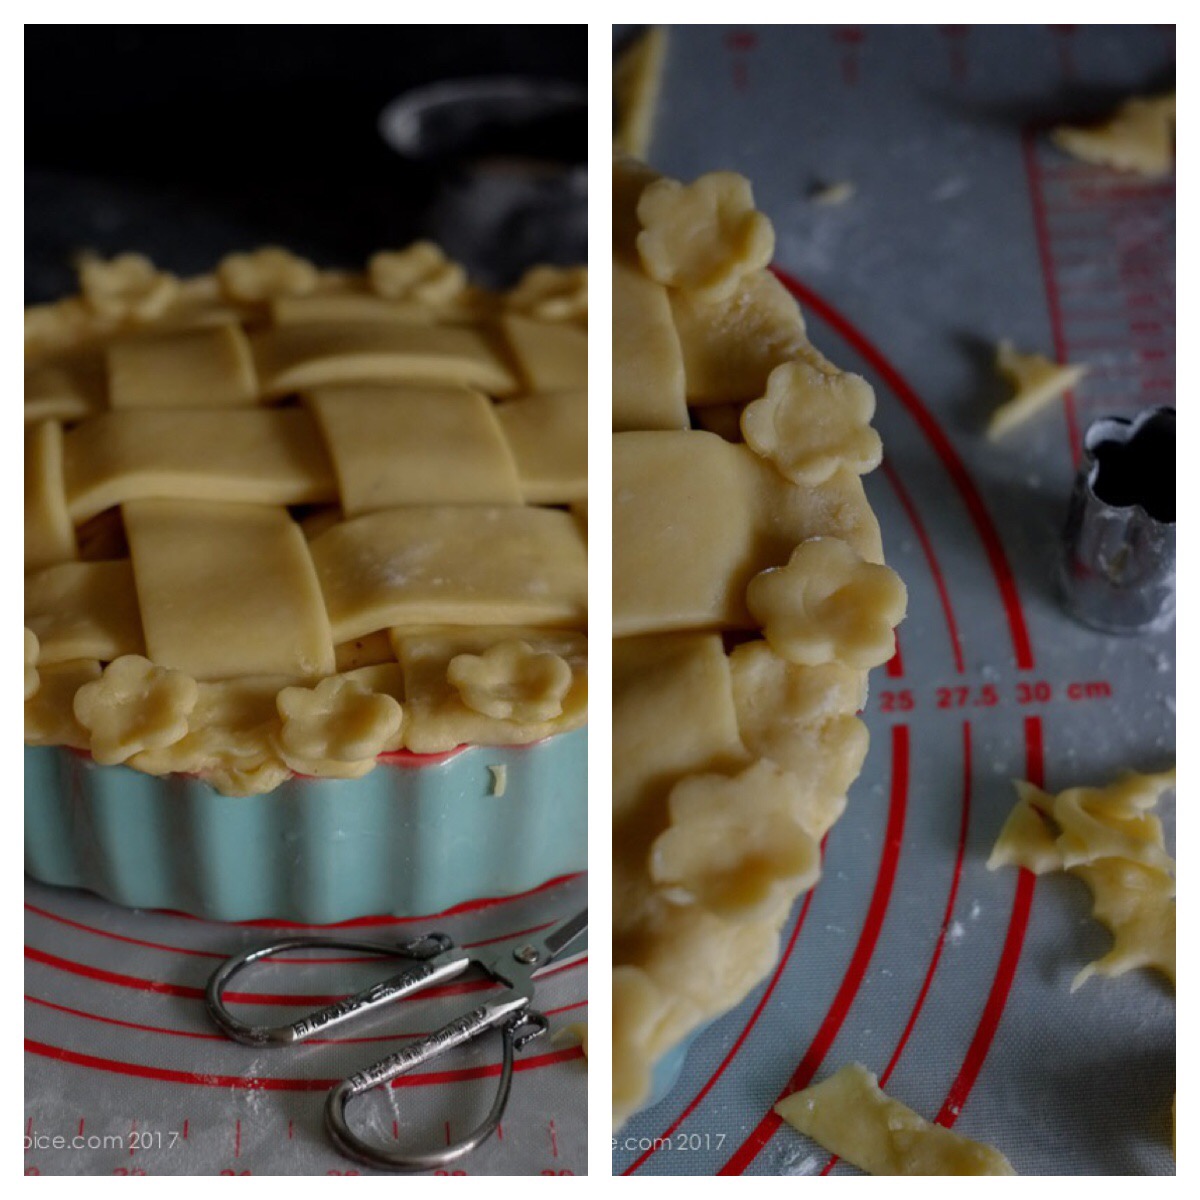
But what about the water, you ask? There is no water! The water from the cream cheese is adequate. That is why this crust is more tender than an all-butter crust. I used it to make a lattice crust on the ultimate apple pie — which was nearly impossible, what with the crust being super tender. But since I really wanted to make a lattice crust, I ended up making the crust thicker than normal. I also made a strawberry pie after a few days, and this time, I knew I should not risk a lattice crust.
The Ultimate Flaky and Tender Pie and Tart Crust on notjustspice.com

Ensure that the dough is chill at all times it is out of the fridge. When you roll it, you don’t want the butter melting, as the dough won’t lift off of your surface! Ensure your rolling surface is well floured too. And yes, the rolled crust has to chill in the fridge before baking so it relaxes doesn’t shrink in the oven.

According to Rose, it took her several years and over 50 years to get this ultimate flaky and tender pie and tart crust just right. And here it is for you!
The Ultimate Flaky and Tender Pie and Tart Crust on notjustspice.com

The Ultimate Apple Pie on notjustspice.com

The Ultimate Flaky and Tender Pie and Tart Crust on notjustspice.com

Related Links:

Rose’s Favourite Flaky and Tender Pie or Tart Crust (realbakingwithrose.com)

The Ultimate Apple Pie (notjustspice)

The Ultimate Flaky and Tender Pie and Tart Crust
Delicate and buttery with a dainty lift, the ultimate flaky and tender pie and tart crust is in a league of its own, enhancing your pie and tart experience like no other crust can. It took Rose Levy Bernbaum over 50 years to get this sublime ultimate flaky and tender pie and tart crust just right. And here it is for you!
Ingredients

Double Crust or Lattice Pie (for a 9-inch pie)

Single Crust

Instructions

  1. 1Cut the butter into 1/2 cubes and freeze them for 30 minutes.
  2. 2Ensure everything is cold, including the mixing bowl. I usually sift the flour into my mixing bowl and let it rest in the freezer for 15 minutes. The cream cheese and cream also sit in the freezer!
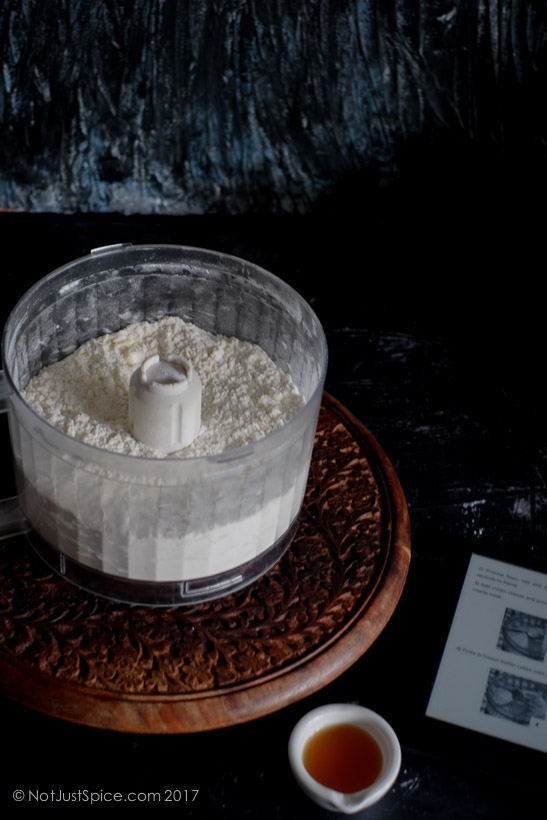
  3. 3Start off by putting the flour in a food processor (you could use a pastry cutter) and pulse it for 2 seconds.
  4. 4Then add the baking powder and salt and blend for a few seconds.
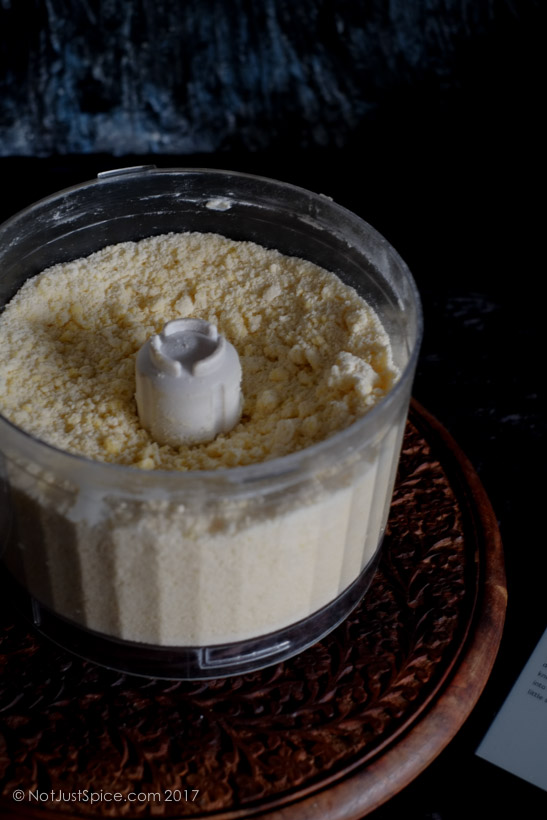
  5. 5Add the cream cheese next and pulse the food processor for 20 seconds, until the mix resembles course meal.
  6. 6Now add half the butter and pulse until you find pea sized bits of the butter in your mix. The first time I made this crust, I didn't like how fine the butter had become. So, I recommend adding the other half at the end, so you are left with bigger pieces of butter.
  7. 7Add to it the cream and vinegar and pulse for a few seconds, until you find small pea sized bits of butter.
  8. 8Add the remaining butter and pulse for a few seconds more.
  9. 9Empty it all onto a cold work surface and press it down together with your knuckles and the balls of your palm, until the whole thing can hold itself together and has a tiny amount of stretch. To ease the process you could empty the dough into a freezer-weight plastic bag and press the dough together from the outside of the bag or wrap it with plastic wrap and try binding it together that way. Here’s what I did since I don’t own a freezer-weight plastic bag: I let a steel mixing bowl rest in the freezer for 30 minutes, and emptied the mix into that.
  10. 10Shape it into two discs, wrap them up in plastic wrap and store them in the fridge for 45 minutes.
  11. 11Take the cold discs out and let them rest for 10 minutes.
  12. 12Lightly flour your work surface with some flour and rub some flour on your rolling pin sleeve.
  13. 13Roll out the discs one by one into thin flat discs, pushing out from the middle towards the ends.
  14. 14For a 9-inch plate, roll out your dough to a 12 and 1/2-inch disc.
  15. 15Lightly flour the disc, fold it in quarters, lift it up and ease it into the pie plate and then unfold it gently and ease it into the pie plate.
  16. 16For a single crust pie, tuck under excess dough and press down. Refrigerate for 1 to 24 hours.
  17. 17For a double crust pie, leave about a centimetre over the edge of the plate and trim the excess. Refrigerate until you are ready to fill the pie. After you are done with the filling, roll out another 12 and 1/2-inch disc for the top crust. Brush the bottom crust with water and tuck the top crust under the bottom crust.
Reviews

Loading reviews...

Rating (optional)
ShareFacebookPinterestInstagram